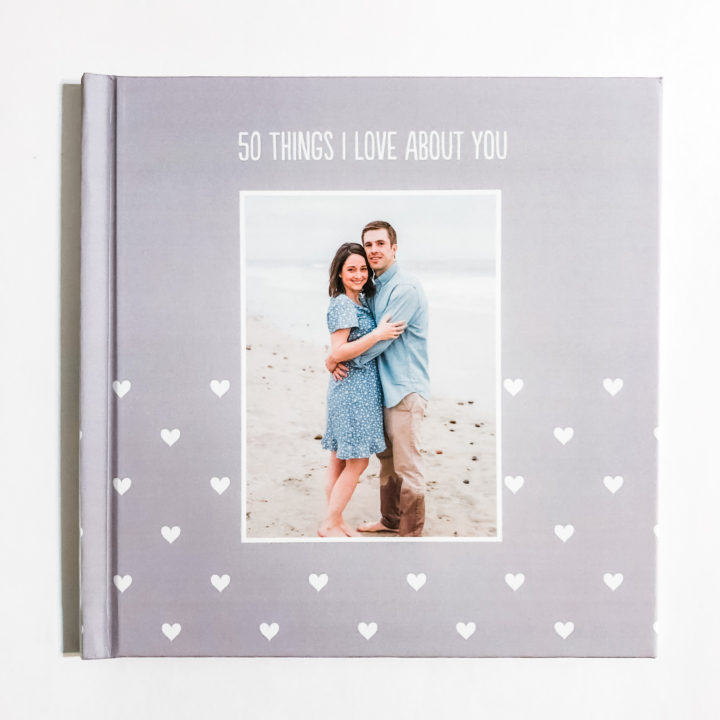
Let’s face it ladies: husbands are hard to shop for. I always struggle with what to get Andrew for holidays, but especially choosing a gift for Valentines Day. Last year I saw a blogger who created a list: “100 Things I Love About You,” and I loved the idea. That inspired me to create a list of my own and transform it from list to a photobook to make it a valentines gift for my husband.
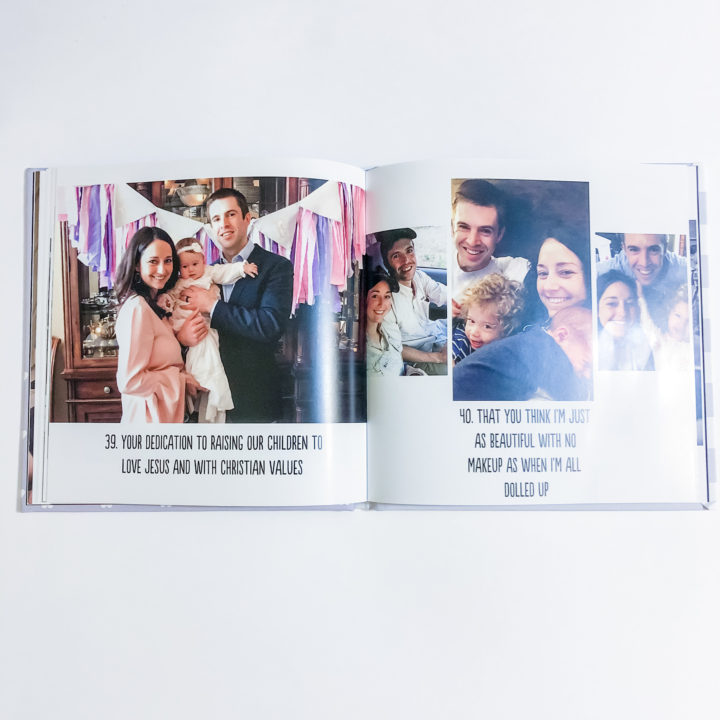
It turned out so cute, and Andrew had the best time flipping through it, examining the photos and laughing at all the crazy things I love about him.
In this post I’ll share a step-by-step tutorial on how to create a book of your own and tips for making it happen quickly!
Step 1: Make the List
The first place to start is by making a list and choosing a number. I found it easiest to open a blank google doc. I kept it open on my computer and phone to easily add things when I thought of them. A note in your phone also works.
Use the numbering feature and accumulate ideas for a few days. In no time you’ll have an idea of how many items you will want on your list. I ended up with about 40 something so I got creative and pushed it to 50 to make it a nice round number. You could also do less like 25 or more like 100!
Hint: If you’re getting stuck and need more ideas, look at your photos while making the list. Photos can sometimes inspire new ideas!

Step 2: Find Photos
After I had most of my list I went through my Google Photos account and found photos to coordinate with each list item. I saved them all to an album so I could easily import them to Snapfish when I was ready.
Some items I had multiple photos for and some I just had one. Though you don’t have to, I tried to find a photo for every list item even if it wasn’t relevant.

Step 3: Write your Letter
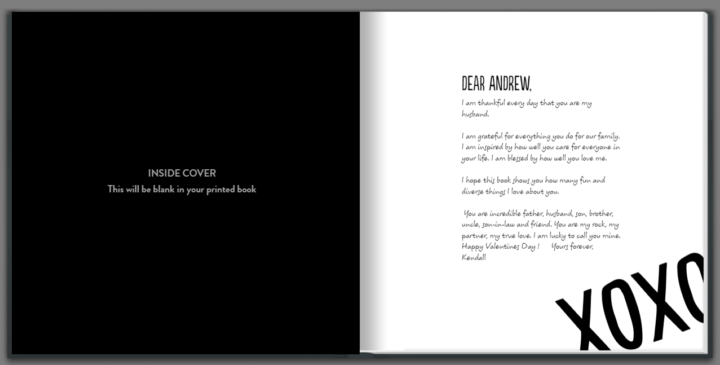
I thought adding a letter to the front page would be a sweet addition, plus it allows you to skip a card! Take a few minutes (or more) and write a heartfelt note to your sweetheart.
Step 4: Create your Photobook
Before you start your photobook I encourage you to gather all your photos and put your list items in order. Doing this before you start your design will save you a ton of time. Here is a step by step of how to set up your photobook to look like mine.
Visit Snapfish.com. Choose an 8×8 hard cover book.
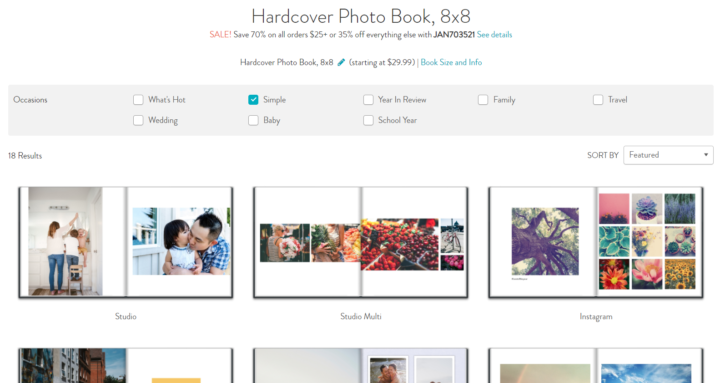
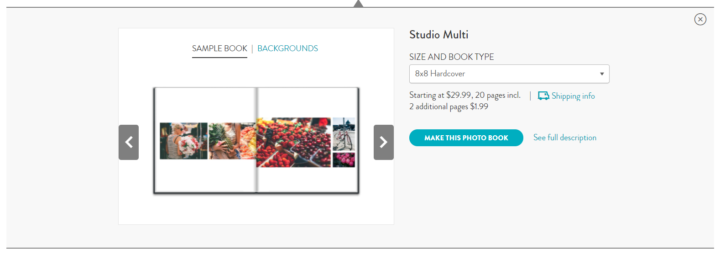
Click the “simple” filter to find the theme I used. I used Snapfish’s “Studio Multi” theme as a base design for my book. Click “Make this Photo Book.”
Add your photos. I imported mine from Google Photos but you can also upload from your computer or from Dropbox. (Tip: If you are importing from Google Photos, if you zero out the search box, all your albums will show up.)

After importing you’ll be prompted to see if you want them to auto place your photos or if you want to place them manually. Choose to place them manually.

To find the heart cover I used, navigate to Background > Patterns > Lovestruck. There are lots of cute heart patterns in this set. Add a single photo to the cover and your book title. Don’t forget to also add the book title to the spine.
I used the font Populaire Regular throughout the book. I used font size 37 on the cover and 30 on all the interior pages.

After you’ve created your cover, consider adding a letter to your first page. On this page I used Populaire Regular mixed with Koorkin Regular for a handwriting effect.
For the XOXO, I used an embellishment which can be found in Embellishments > Love > Phrases.
Next, add all your pages (if you are doing a letter you will end up with 52 pages). I find it helpful to add and arrange pages by going to the “all pages” view.
After you’ve added your pages, add layouts and text boxes to them all.

One lesson I learned was to NOT add numbers at first, but to go back and add those after I had everything arranged in the order I wanted.

After you have finished your photobook you can add a design to the back cover. I used a grey striped background to coordinate with the grey hearts on my cover and added a black heart embellishment.
I also added a little tag line “Made for Andrew with Love by Kendall, Valentines Day 2020.”
When you’re ready, step away. Come back to it a few hours later and give your book a final proof read for typos and errors. Make sure all the numbers are there and in the right order.
Step 5: Order your Photobook
When you’re ready, add your photobook to your cart. A 52-page 8×8 hard cover photobook costs about $63 without shipping. Search online for coupon codes and you can usually find codes for anywhere from 50% to 75% off.
Printing and shipping usually takes about 10 days, so be sure to order a few weeks in advance to make sure you have time to get your book in time for Valentines Day.
And that’s it!
This is not a quick project, but it’s something your loved one will keep forever and a fun thing to look back on as a couple on future Valentines Day dates.
Have any questions or ideas for making this project even more special? Drop them in the comments below!


Leave a Reply