
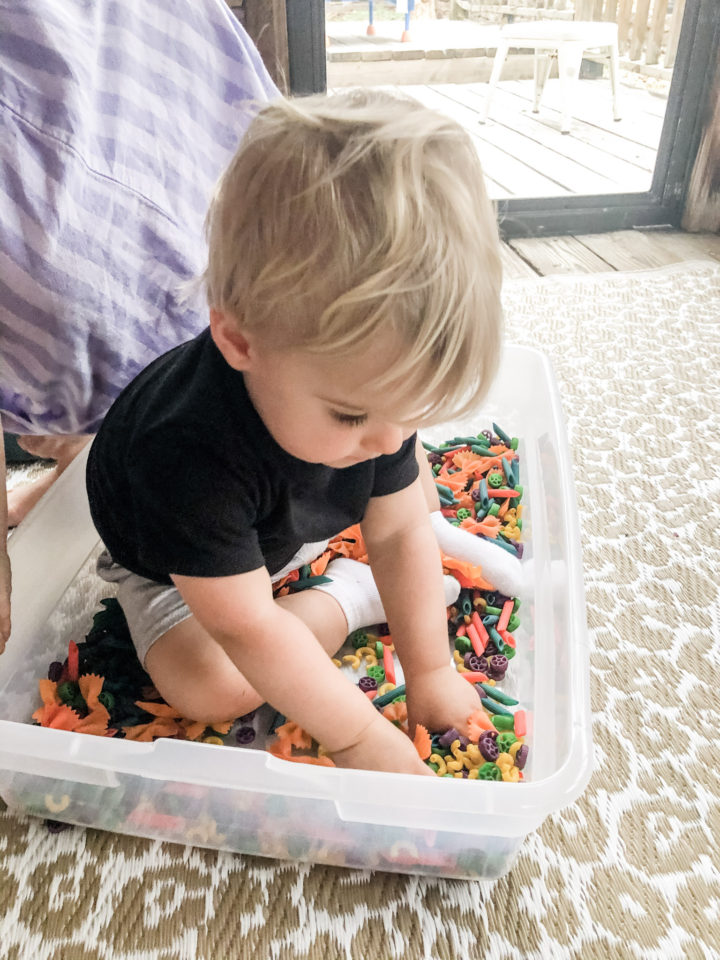
For St. Patrick’s Day this year I tried to come up with some fun rainbow-themed activities for my toddler and pre-schooler. While the snack baskets were a win, the biggest hit has been this rainbow-dyed pasta sensory bin.
In my quest to make it, I spent way too much time scouring the internet for tips, tricks, and advice on how to make this craft come to life so I decided to consolidate all my new found knowledge into one big post to save other crafty mamas time in the figure.
In this post I will answer these pressing rainbow-dyed pasta questions:
- What is the recipe for making rainbow-dyed pasta?
- Why use alcohol versus vinegar to make dyed pasta?
- How do you get bright colors on your rainbow-dyed pasta?
- Which pasta shapes should I buy for my sensory bin and which should I avoid?
- How should I store my dyed pasta?
- At what ages do kids enjoy a rainbow-dyed pasta sensory bin?
- What activities can toddlers do with rainbow pasta?
Have a question that isn’t on this list? Feel free to leave a comment below or DM me on Instagram at @KendallEntertians.
What is the recipe for making rainbow-dyed pasta?

The recipe for making rainbow pasta is simple and scalable. Use one quarter cup alcohol and 12-16 drops of food coloring for every 16 ounces of pasta.
For our sensory bin, I purchased four 16 oz. boxes of pasta and split them in two so each pasta was two different colors. I halved the amount of alcohol used accordingly to 1/8 cup and adjusted my drops of food coloring to 6-8. (Depending on the color I scaled up. See below for tips on getting rich colors.)
Mix the alcohol and food coloring with your pasta in a gallon ziplock baggie and let soak for 15 minutes. Using your hands, agitate the bags every 5 minutes so that the pasta is evenly coated.
While the pasta is soaking, set up sheet pans covered in foil with drying racks over them. One thing I learned was to lay paper towels over the drying racks so the pasta doesn’t fall through the drying rack holes.
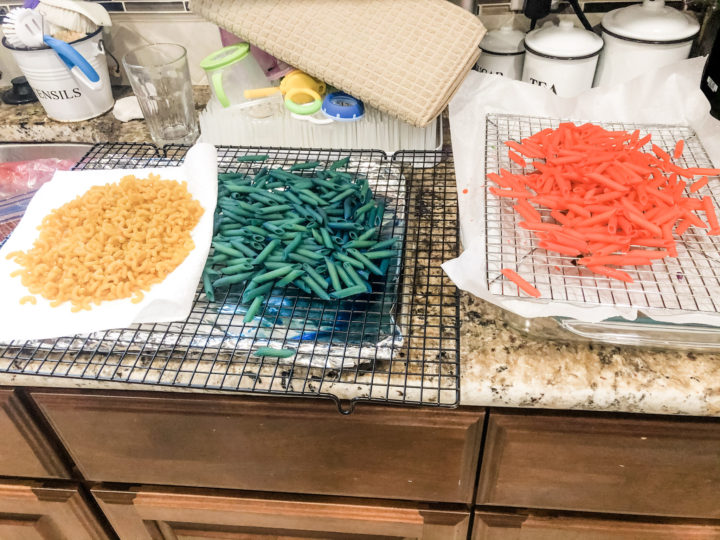
Once the pasta is dry, transfer it to a Tupperware or bin. I used a half-size under-the-bed box I had from Target like this one.

Rainbow Dyed Pasta Recipe for Bright Colors
Equipment
- Gallon Ziplock Baggies
- Drying Rack
Materials
- ¼ cup Alchocol
- 16 oz. Dry Pasta
- 8-12 drops Food Coloring Use gel food coloring to get the richest colors
Instructions
- Mix pasta, 1/4 cup alcohol, and food coloring in a gallon ziplock baggie. If color has a hard time spreading to all the pasta, add alcohol a tablespoon at a time.
- Let it sit in baggie for 15 minutes, agitating every 5 minutes to even out color.
- Lay paper towel on drying rack. Place drying rack over sheet pan to catch drips. Spread pasta on paper towel and allow to dry completely, approximately 30-45 minutes.
Notes
Why use alcohol versus vinegar to make rainbow pasta?
There are three reasons to consider using alcohol versus vinegar for making rainbow pasta.
First, using alcohol produces more vibrant colors. Recently my mom made rainbow rice for the kids and used vinegar instead of alcohol. The colors were nice but not nearly as rich as the alcohol produced. If you read other tutorials across the internet you’ll find this repeated again and again. There is a great comparison photo on The Hairbow Company’s blog.
Second, alcohol can be used more liberally without causing the pasta to get soggy. With vinegar, you have to be much more careful in the amount added to the pasta so you don’t end up with soggy pasta that won’t dry.
Lastly, the vinegar leaves a longer-lasting smell than alcohol. My mom’s rainbow rice still smells of vinegar while our pasta has lost any odor. I will warn you though, initially the alcohol smell while drying is very strong. I would recommend opening a window or drying on a covered back patio. Once it’s dry though, it doesn’t smell at all.
If you have a toddler you are worried about ingesting the pasta, you might consider going the vinegar route. I have an 18-month-old who puts everything in his mouth, but I always supervise his play with our sensory bin so I can keep him from eating it so using alcohol didn’t worry me.
How do you get bright colors on your rainbow-dyed pasta?
While making my rainbow pasta I tested three different types of food coloring: Wilton Gel Icing Color, traditional Food Coloring & Egg Dye, and Wilton Gel Food Colors.
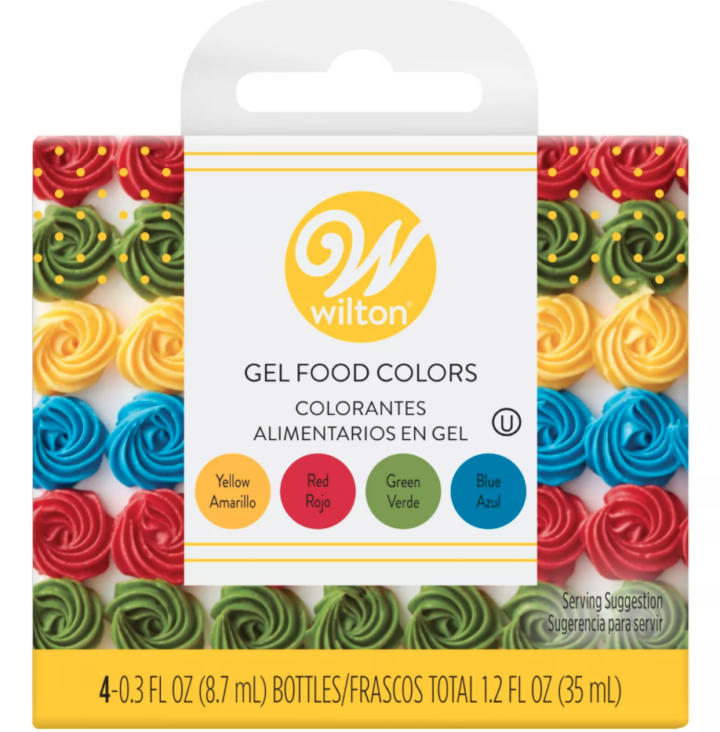
The Wilton Gel Food Colors were, by far, the winner. I ended up going back to all my baggies and using these colors to brighten up the others I tested that weren’t so good.
A few notes on mixing colors:
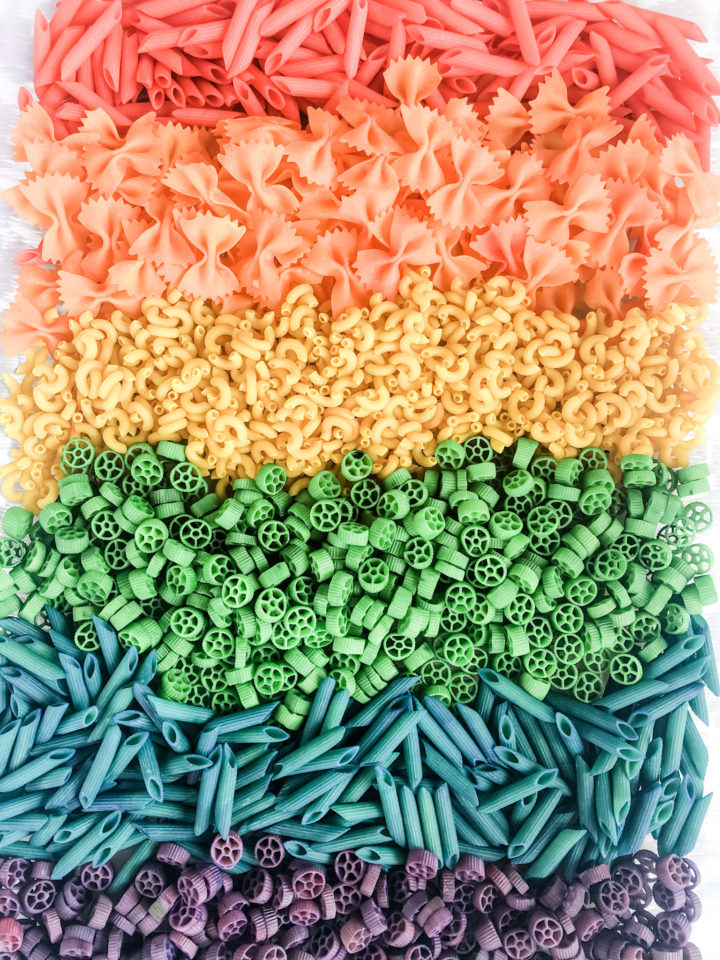
- Red – Choose your least yellow pasta as a base for the red to keep it from appearing orange. You will need a LOT of coloring to get a rich red.
- Orange – Add yellow first then slowly add red to create orange. It is easy to overdo the red, so only add a couple of drops at a time to build-up to the color you want.
- Yellow – Since the pasta is already yellow you will need to use a lot of yellow to get it a vibrant color.
- Green – This one mixed easily and gave a vibrant color.
- Blue – This one mixed easily and gave a vibrant color.
- Purple – Start by adding red then add blue slowly. If you add too much blue it can make the pasta look muddy and brown.
Which pasta shapes should I buy for my sensory bin and which should I avoid?

I didn’t think through the pasta shapes when I started this project. After seeing my kids play with the pasta, I have some solid opinions on what shapes are best for making rainbow-dyed pasta for toddlers.
For our pasta I used:
- Rotelle (Wagon Wheel) – This one is super fun and it holds up well. I would recommend using it.
- Farfalle (Bowtie) – While this is a great shape and adds some variation, it does chip and break easier than the other varieties. Since it is bigger, it’s probably less of a choking hazard as well if your audience is under two.
- Penne (Tubes with Diagonal Ends) – These are sturdy and are also good for stringing onto lace to make necklaces.
- Elbow Macaroni – The elbow macaroni we got was small. It’s a bit harder to clean up than the other varieties and just isn’t the same scale. I’d probably sub out next time for a Rotini.
Other varieties I would consider are:
- Shells – I feel like shells would be a good replacement for the Farfalle if you wanted to have a different shape but something that would chip less.
- Rotini or Egg Noodles – Having a spiral shape would be a fun addition. My sense is that rotini would hold up better than egg noodles, but either would work.
- Rigatoni – Rigatoni has a larger diameter than Penne so it would a good substitute for little kids if you wanted to repurpose and make in to necklaces or string on pipe cleaners.
Overall, it’s hard to go wrong with any pasta. Choose something inexpensive or that you have in your pantry. I’ve linked all the varieties listed above in the carousel so you can easily add them to your Target cart.
How should I store my dyed pasta?

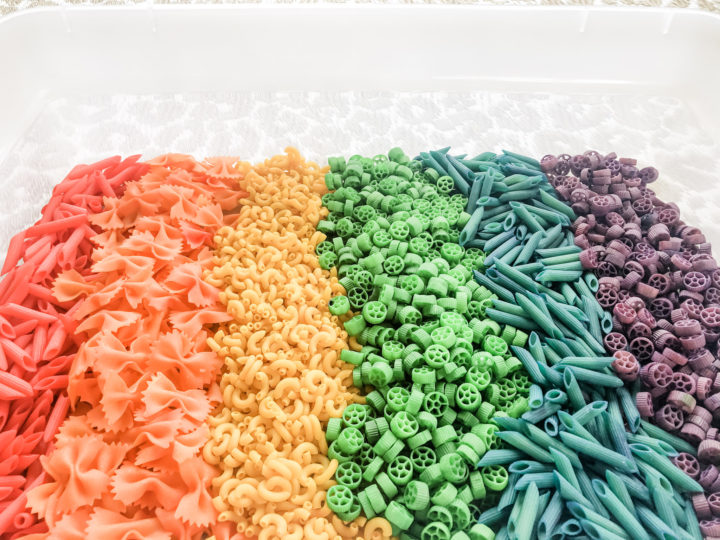
To make it easy to play with and store, I house our dyed pasta in a half-size under-the-bed box from Target like this one. It makes a great floor-based sensory bin and was the perfect size for about 48 ounces of dyed pasta.
I recommend getting a bin with a lid and keeping the pasta in a garage or indoors, especially if you live in a humid climate.
We have had our pasta for about a week so I can’t attest to how long it lasts yet, but I’ll report back when I have an answer.
At what ages do kids enjoy a rainbow-dyed pasta sensory bin?
At the time I made our rainbow-dyed pasta my daughter was 3.5 and my son almost 18 months. They enjoy it equally, though the ladder requires supervision so he does not eat the pasta.
We have had neighbors over who have kids who are 5+ and in kindergarten, and they enjoy playing with it as well. It is a really versatile activity that kids will enjoy for years.
What activities can toddlers do with rainbow pasta?
The whole reason to make this is to keep your kids engaged, entertained and provide a neat sensory experience. Watching my kid’s experience and come up with new ways to play with the pasta has been so much fun.
Here are three ways my kids have enjoyed playing with the pasta:
1. Sensory Play
My kid’s first instinct was to run their hands through it and mix up the colors. Yes, my pretty rainbow setup lasted less than 10 seconds.
Next, they wanted their whole bodies to experience it. They both took turns getting into the bin and making “pasta angels” by moving their legs in and out.
2. Sorting & Transporting
Then they started sorting and transporting. I gave them some red tin buckets I had and they used beach shovels to fill them and move them between the sensory bin and another tray I put out.
Callahan kept busy filling buckets and practicing with the shovel, while Annabelle was taking the time to sort her pasta into buckets by color and shape.
3. Crafting
Since the initial play time we have used some of our leftover noodles to make noodle art such as gluing the elbow macaroni onto paper to make a lion’s mane. Annabelle has also practiced straining the penne onto ribbon to make a necklace.
Conclusion
Overall, the rainbow pasta has been a big hit in our family. It didn’t take much effort to make and has provided hours of fun. If you end up making the rice share a comment down below on how it turned out or tag me on Instagram: @KendallEntertains!
Shop this Post


Leave a Reply